

This error usually occurs when the installer is unable to edit a file on your computer while installing QuickBooks. It normally happens with a message popping up showing that the installer does not have enough permission to update the file or that another program or service has locked it; hence, it cannot be modified. The message may also indicate that Windows
permissions or antivirus software customizations are preventing changeability on this file.
The possible causes of this problem differ from restricted file permissions and conflicts with antivirus or security software to existing files already accessed by other applications. When trying to run an update/ new installation, QuickBooks needs access to and changes some files in its system. If any of these conditions fail to happen, then installation/upgrade stops displaying QuickBooks Error Code 1321.
To resolve this issue, follow these simple steps. First, check that the QuickBooks installer has administrative privileges to overcome permission-related issues. You might also need to temporarily turn off your antivirus program or other security tools whenever they confuse QuickBooks install files for malware programs on error-prone occasions. Lastly, ensure there is no other program currently using this file that would cause conflict, thereby allowing your book install to proceed smoothly while installing.
Method 1: Adjusting Drive Letters
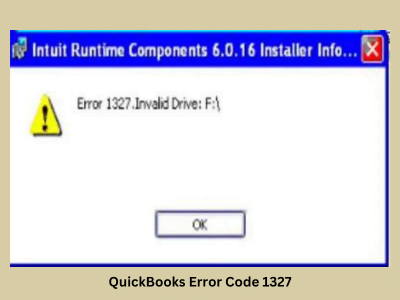
Sometimes, QuickBooks Error Code 1327 occurs when a change in drive letters can confuse the QuickBooks installer. Here’s what you need to do:
Open Disk Management: Right-click on “This PC” or “My Computer” and click “Manage“. Then go under Storage> Disk Management.
Find Your Drive: Locate the drive that Quickbooks is trying to install but finds difficulties doing so.
Change Drive Letter: Right-click on the drive and select “Change Drive Letter and Paths.”
Thereafter, select ‘change‘, pick either the original letter or another one, and confirm.
This method will often fix this error by returning the expected drive path to its actual way.
Method 2: Set up a new Windows User And Install From That
Find Control Panel: You should begin by launching the Control Panel from your Windows personal computer. To do this, type “Control Panel” in the Windows search bar and then select it from among the results provided.
Go to User Accounts: Find “User Accounts” in the Control Panel and click. You can manage any user associated with your Windows operating system.
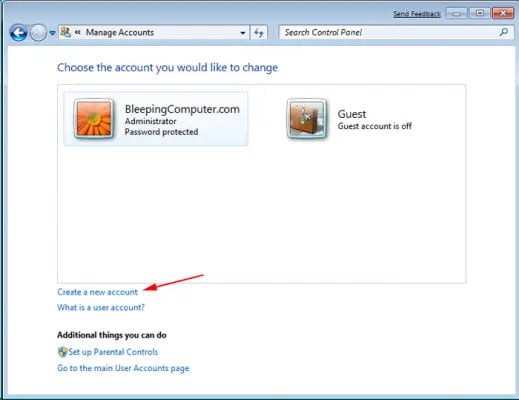
Choose ‘Manage Another Account: Go to Manage another account inside User Accounts. You’ll see all the user accounts you already have, and you can add new ones.
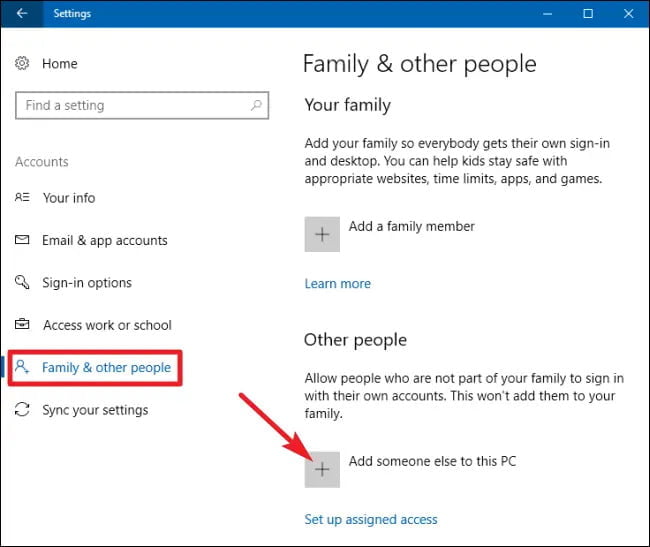
Click on “Add a New User” Click “Add a new user in PC settings”. It will take you to the account creation section within your Windows Settings.
Create a Microsoft Account (Optional): You may create a new user account associated with an existing or new Microsoft account. Alternatively, you can create a local account instead of this one.
Set Up a New Local Account: I need this person’s sign-in information. Then, I will add a user with a Microsoft account. Enter the username and password for the new account.
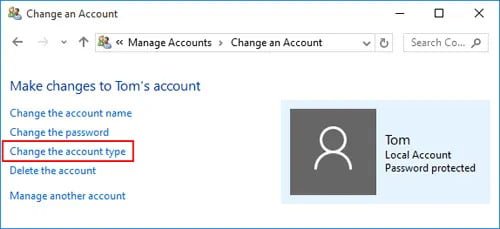
Give Administrative Privileges: The new user account must have administrative software installation rights. Select Administrator as the type of the account so that this person has those privileges.
Sign Out Of Current Account: After setting up your new user account, log out of your current account.
Login With New Account: Log into your computer using a newly created (clean) profile/account. This is called a clean slate; Error Code 1327 should not occur there anymore, so no conflicts should be expected here as well.
Begin QuickBooks Installation Again: Navigate to the location where the QuickBooks installer file is located using newly created user details and execute it. Due to a fresh
environment in brand-new customer profiles, issues like error code 1327 might be avoided.
Verify QuickBooks Installation: Make sure that QuickBooks works properly once it finishes installation. Needful configurations or updates must be done if necessary.
Switch Back To Old Account (optional): If the installation was successful, go back to your previous profile and keep this one as a backup option; otherwise, delete it.
Think About Transferring All Files and Settings: If you want to retain the in-use profile, you must move folders and settings from your old one.
Method 3: Use the Registry Editor
Change anything, but only if you are sure about it. You can cause problems with your system by making the wrong changes:
Open Registry Editor: Press Windows + R, type regedit and press Enter.
Reach The Right Key: Find the key for QuickBooks installation. It is usually located under HKEY_CURRENT_USER\Software\Microsoft\CurrentVersion\Explorer\User Shell Folders.
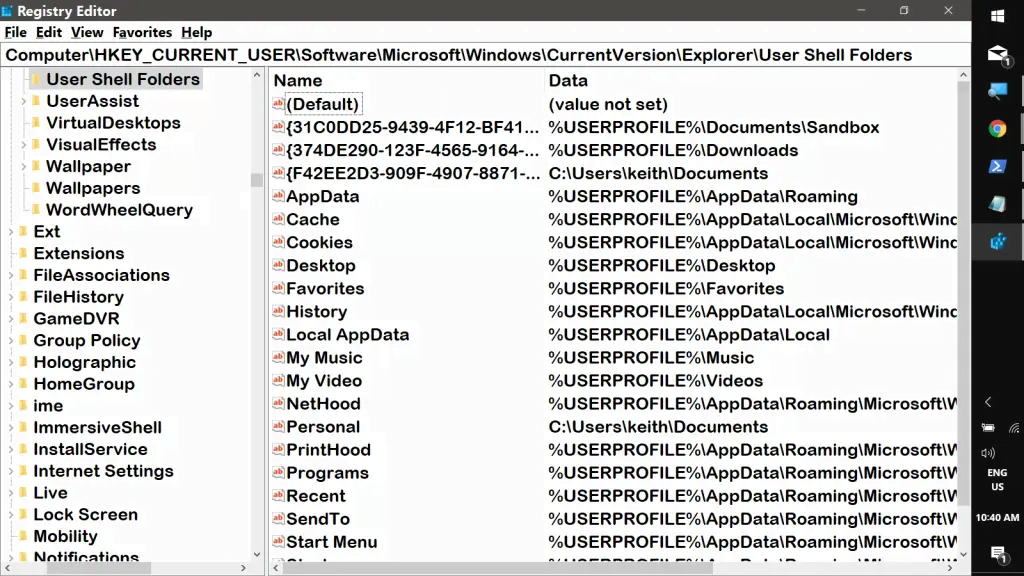
Edit The Drive Letter: Take the QuickBooks entry (double-click), then change the drive letter accordingly.
It would help if you only made confident changes, as this can destabilize a computer.
Method 4: Temporarily Disconnect Network Drive
The solution could be to disconnect the network drive temporarily if the error is related to it:
Open This PC or Computer: Open My Computer or This PC, which is where network drives are sometimes shown.
Disconnect The Network Drive: Right-click on the drive, then choose the Disconnect option.
Once disconnected, try running the Quickbooks installation again. After this, connecting to the network drive can be done again once the installation is over.
Method 5: Running the QuickBooks Install Diagnostic Tool
Intuit provides a diagnostic utility for most common installation issues to resolve them automatically.
Download the Tool: Go to the official website of QuickBooks Support and download the QuickBooks Install Diagnostic Tool.
Run the Tool: Before you run it, close all programs that may be open on your computer. After downloading the tool, initiate it and patiently wait for it to carry out diagnosis and repair processes.
Restart Your Computer: After using the tool, you must restart your computer for everything to take effect.